Wednesday, March 7, 2012

Another Quilt

Another quilt in progress!! After the last two, I finally got up the nerve to work on the T-shirt quilt I had been wanting to make for my husband. His birthday is coming up and I needed a gift for him. He is an avid runner and just can't bear to part with any of the shirts that he gets with each race, so I bravely chose 12 of the older ones to use. I ran all but 1 of these races with him so it's kind of a memory quilt of us (before kids :o) also.

As I was uploading I kind of got them out of order, but here is the top pieced without a border.
First I chose the shirts that I was going to use, cut off the back, sleeves and collar and ironed them flat.
Then I attached interfacing to the back to add stability and cut each shirt into a 15"X15" square.
This is the fabric I chose for the sashing, border, backing and binding.
The quilt top is a little farther than you see here - all the quilting has been done and the binding is ready to be attached.

I will be working feverishly the rest of this week to get it finished as his birthday is on Sunday. We are having everyone over to celebrate the February and March birthdays - there are 4 of them - on Sunday and I have some great ideas on how to package it.

By the way, the quilts brought in a respectable $115 for the 4th grade quilt and $125 for the 2nd grade quilt. Not bad!

More works in progress at Tami's.

Tuesday, March 6, 2012

One-A-Day Progress

This week was fairly productive. Doesn't hurt that we had an extra AP Chem tutoring session (those are 1 1/2 hours each) and we also went to the beach where I got some fabulous knitting time in. What could be better that spending time running in and out of the waves with the kids and then sitting for a bit knitting?? Not much!
My 7 hexies - a couple of them are a little "special".
Love this one! Will be making more of these in different color combinations.
I tried something new with these. The one on the left is knit intarsia like where I actually knit the green and orange stitches with the background stitches. The hexi on the right is done with duplicate stitch. I can't figure out why they are so differently shaped - the one on the right is the right shape, but you can see the one on the left is way skinnier and taller. What happened??
I like the duplicate stitch a bit better because it sits on top of the stitches and therefore produces a more 3-D like picture. It was not as fiddly as I thought it was going to be and actually took the same amount of time as the other one.
This one was way fiddly - with the threads constantly twisting and tangling in the back. Still it did not take as long as I thought - approximately 50% more time that just a regular hexi.
Naked needles :o( This is the first time in a few years that there have been no fish on these needles. They have served me well (and will again in the future). I am happy that I am done knitting the fish, but a little sad also. How crazy is that?!! I hope someone understands me because my husband thinks I am bonkers.
The last 5 fish - I will organize the last 5 rows needed probably this week and continue to crochet them together. Now......to border or not to border that is the question
The required 7 mini grannies for the teddy bear afghan. These whip up so quickly it is almost embarrassing that I am including them in my one-a-day projects.
This was the kite afghan as it stood last week.
This is where it is at now. I kind of had a problem stopping at just 7 kites! It is almost wide enough now so a few more on the outsides and then I will just keep building.
I just love some of the colors - That magenta, orange and white one is a favorite
as well as this crazy green and purple one.
I just knit this big one last night. They are the equivalent of about 4 of the regular kites so they take a bit of time.

Well, I'm off to make lunches for the kidlets to take to school. Have fun today!

Friday, March 2, 2012

Dishcloths

I simply love to knit dishcloths. There is just something I find so soothing - I don't know if it's just because they're so small or if it's because I truly like using them as mug rugs, dishcloths and washcloths, whatever it is I love knitting them. I have been a member of the Monthly Dishcloth Group for many years now and knit several of their dishcloths every year. Here are a few of them that I gave to my mother-in-law.
This pattern with the circles is so fun - I have made a few of these before.
A windmill - love the picture cloths!
Another one with little windows of a different color. These colors are so similar it's hard to see the pattern.
I like these patterned ones also.
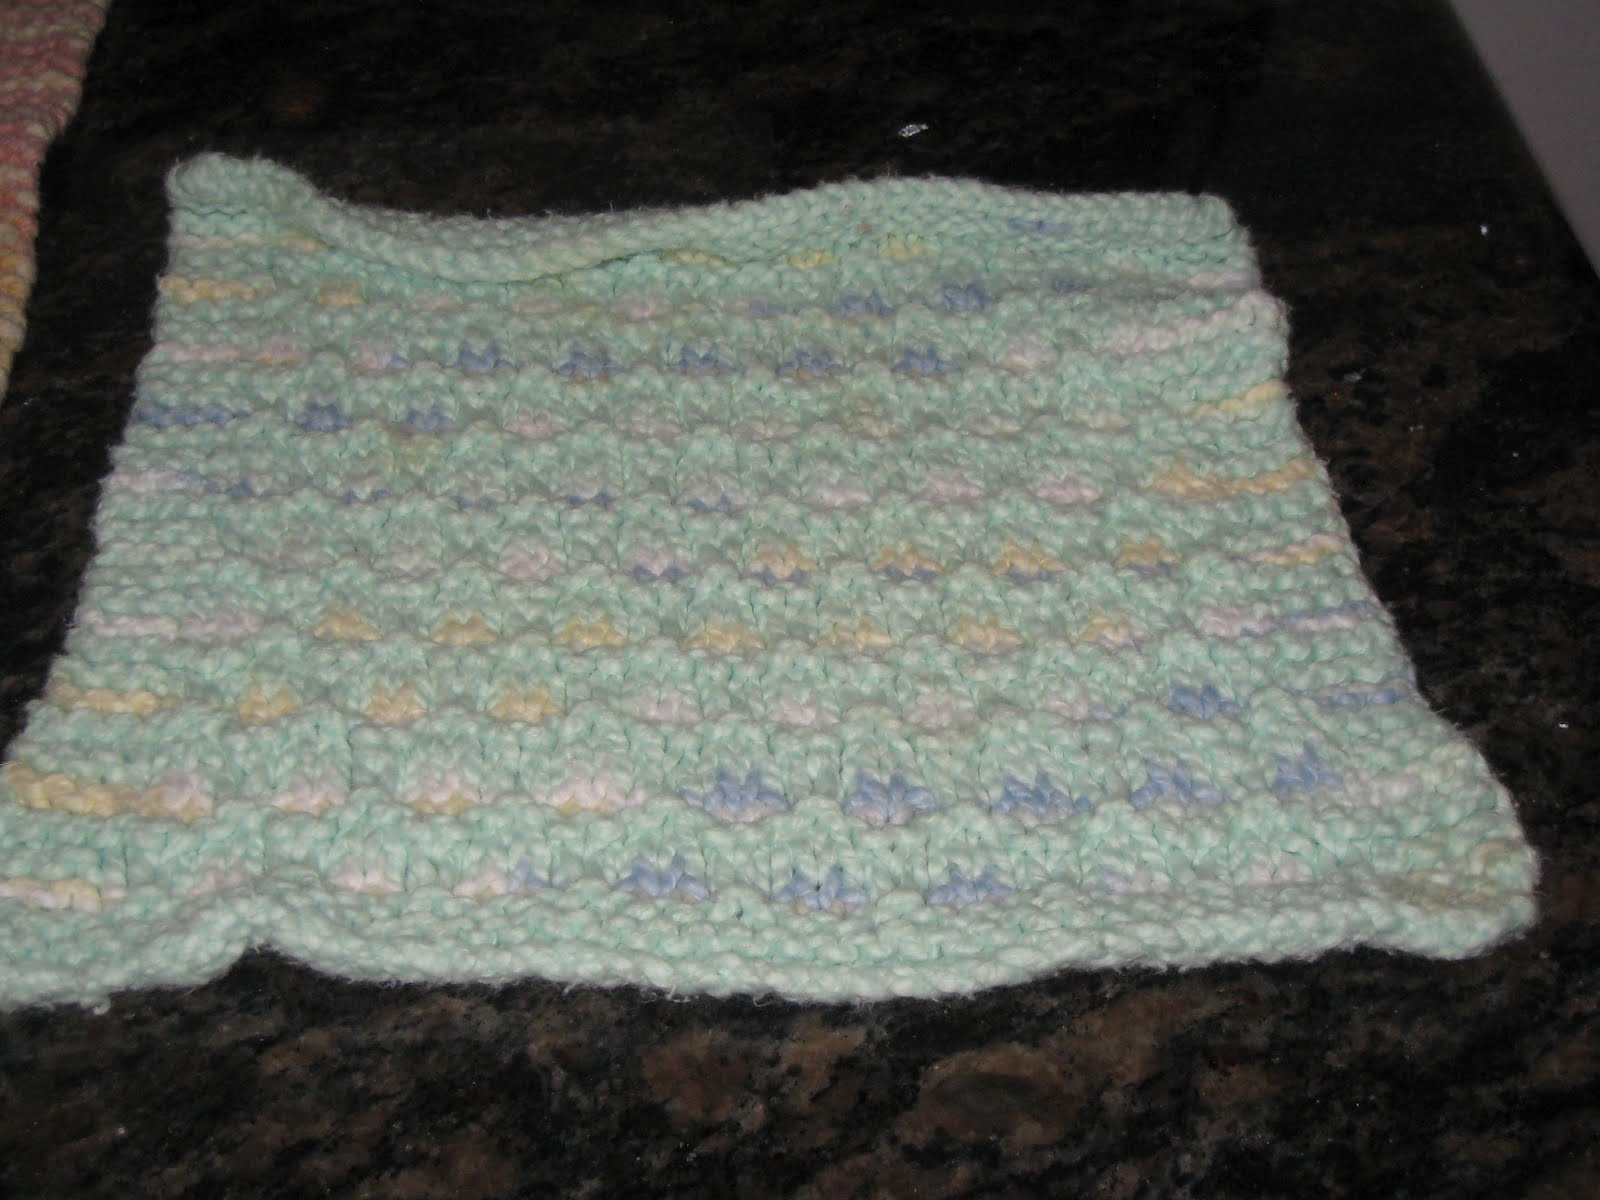
This one is my least favorite. For some reason, it turned out wonky. However, I used some really soft cotton so it feels great :o)

More finishes at Tami's.

Wednesday, February 29, 2012

Fishing in progress

I now only have 2 1/2 fish to knit to reach my goal of 180!! 180 will make us a very nice sized blanket. I started laying them out on the kitchen table - I had previously figured out that I needed 12 rows of 15 fish each.
I could have taken pictures all day. I love the way they all look together. Some are with just one color and some are with more than one - it just depended on when I ran out of yarn. Above, in the middle of this photo, you can see a fish that has 4 colors!! Just little bits that I didn't want to waste :o)
Right here are 120 fish. 10 rows of 12 fish. I was rearranging them to try to balance to colors so that there wouldn't be too many of one color all together.
Then I bagged them up in order by row. Each row getting it's own bag. I can take from the top of the bag and they stay in the order I want. As I finish sewing a bag of fish together, I can just grab the next bag.
All ten rows bagged up!
The start of my seaming. As always, I am slow - it is taking me about 5 minutes per fish - so about an hour per row.
The first three rows done. My oldest had an AP Chemistry tutoring session (1 1/2 hours) and this is what I worked on.
The front seaming of the blanket will look like this.
I really like the braid that is formed by this method.
And the back seaming looks like this. I seriously can't decide which I like best. I hosted a knit night with my friends here last Friday night and they were split almost exactly 50/50 on who liked the front the best and who liked the back the best.
Those zig zags just look so fun!
3 rows done - 12 more to go :o) Not too much longer and this baby will be hanging out on our couch :o)

Go visit Tami's to see more works in progress.

Tuesday, February 28, 2012

Tuesday Tallies

The class quilts are done and hanging in the classrooms until later this week when I take them down and bring them to be hung at the auction site. It seems as if everyone likes them, so I am hopeful we can bring in some good money - we need so many things at the school.
Here are the next 7 hexies. If you look closely, there are 2 that are smaller than the rest. As I was trying to make some of those cute hexies from charts that clever people have designed, I realized that I have been making my puffs two rows less than they should be! ARRGH!! I am not going to re-do all the ones I have already made - I am hoping that I can kind of "wing it" when I am sewing them together. Notice the striped one up there, you will see more of those to come. Also, I think I am going to try some Mario Bros Characters soon. This is the perfect project to learn new skills!
The next 7 fish. Only 5 more to knit *sigh*. Yes, I am glad to see this project nearing it's end, but somehow I think I am going to miss knitting fish. Crazy, I know!
I didn't have time to sew all the squares from the last couple of weeks into the next section, but I did knit 7 squares for the third section. I don't think I will ever get tired of these. They make up so quickly, if I let myself I think I could be done with the crochet in a week or so!
This blanket is quite clever in it's construction. Instead of knitting up tons of little kites and then sewing them together, you pick up the sides of two previously knitted kites and knit up just like you have started a new one.

The kites with the stitch markers laying on them are the new kites, I have 6 regular ones and then started one big one at the top. These kites are becoming an addiction! I love to see the new ones "growing" out of the blanket.

There is one big mistake though - the directions said to start with a provisional cast-on, but since (in true form for me) I hadn't really read the pattern through and couldn't imagine why you might need this type of cast-on (and I don't know how to do that kind of cast-on yet), I just went ahead and used a long tail cast-on. Well.......you need the live stitches provided by the provisional cast-on at the edges to make an I-cord edging. The next "free" squares I make, I will make with the provisional cast-on and I will hope that just picking up and knitting some stitches at the edge of what I already have will be "good enough".

The original pattern can be found here and was made with sock yarn. Mine is being made from cotton so hopefully will go a bit faster, but will not have as many kites.

Thursday, February 23, 2012

1st Grade Class Quilt-FINISHED!!

I can't believe that this one is done also!! I finished around 12:30 this morning and dropped it off at school at 8:30. I am so pleased with how it turned out and I think the kids were too. They were all trying to find their own squares!! It was pretty cute.
This is the front. I had so much trouble getting those white squares to lay flat and be even, but it was worth it!!
I pieced the binding and hand sewed it down on the back.
This is the back. I don't think it shows off the quilting all that well, but I had sewn around each square - all four sides - with not too much puckering this time. I think this shot also shows the binding a bit better.
My label - I just wrote on the back in permanent marker just like the kids did on their squares :o)

Such a sweet little quilt! I'll let you know what it goes for at the auction.

See more finished objects at Tami's.

Wednesday, February 22, 2012

1st grade class quilt

Almost finished with the first grade class quilt for the auction! The border is on and here it is being pinned to be quilted.
I measured each white square to be exactly in the center of a colored square - 1" border on all sides - then I used safety pins to pin in the center of the square and on each corner. Then I put pins on the seams between each colored square and also in the corners. where four squares meet. It took more than 3 hours and boy was it back breaking work!! I had to pin it while it was on the floor!!
It turned out that all those pins were not enough. The white squares that the kids had decorated were still slipping - sometimes as much as 1/4" as I was sewing down the side. I fixed this "little" problem by using straight pins every 1/2"-3/4" as you can see in this photo. I pinned these as they were going through the machine. Each time I came to a pin, I took it out and placed it in the square below.
Quilting this on my little machine, was not easy, but it is done now. The binding has been attached and is being sewn down by hand now. Should be complete soon :o) It will be great to be done with this!!

See more WIPS at Tami's.